Lubrication Blog
Down the Bottling Line
Every winery has its own unique way of bottling. Curious about how your favorite winery in Napa does it? Everything is done on-site in our winemaking facility in Napa...on the back of a big rig backed up to our warehouse, of course. Our bottling process is simple and straightforward with quality in mind. Workers monitor each station and the whole process operates like a choreographed dance. For the day, the cellar buzzes with the non-stop whirr of equipment and clink of bottles as they move down the line.
Let's take it step-by-step.
Step 1:
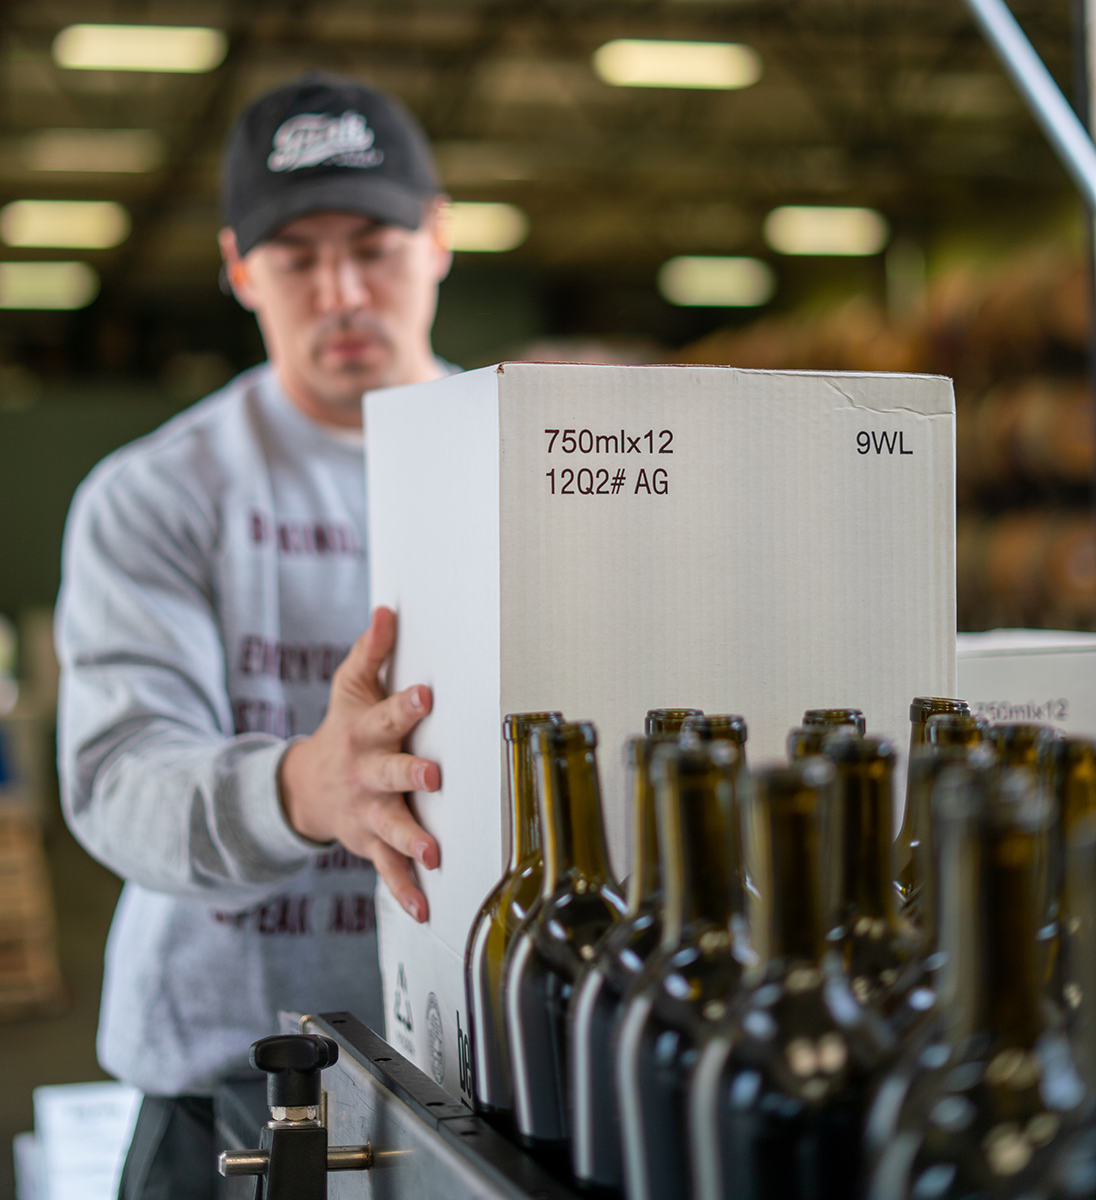
Empty bottles are taken from their cases and placed onto the conveyor headed straight to the bottle filler.
Step 2:
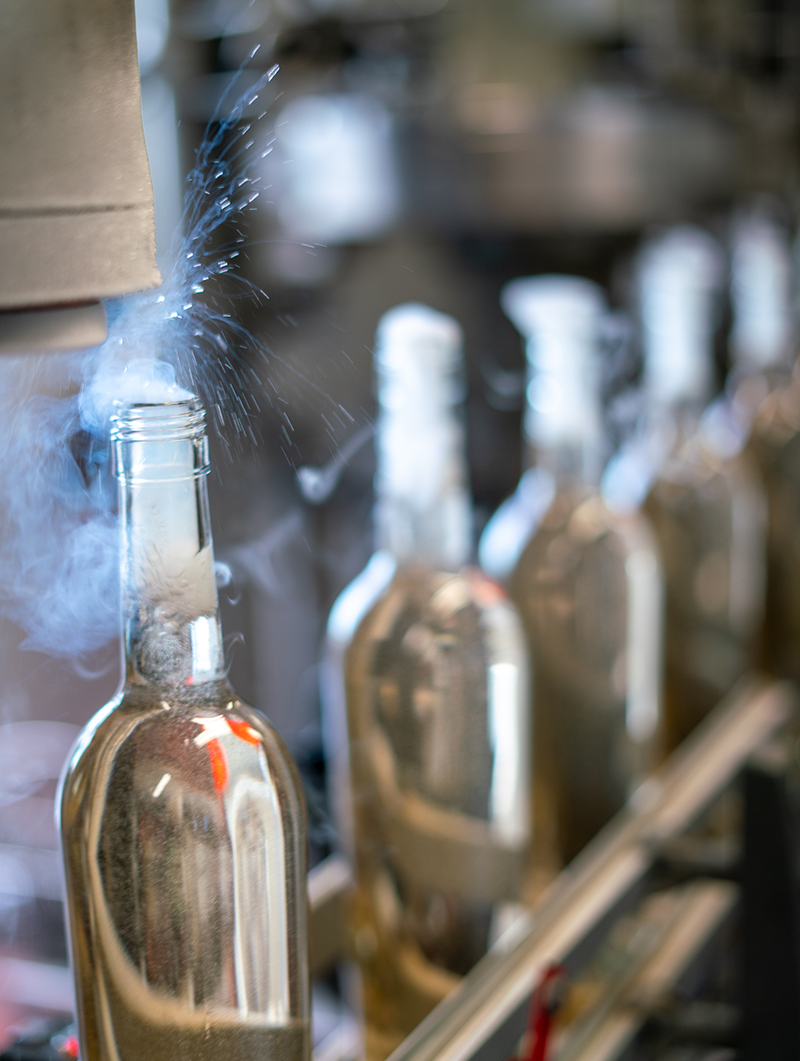
As the bottles move onto the wheel, vacuum and compressed air blow out any cardboard dust. The wine feeds from the tank inside the winery into a reservoir on the top of the bottle filler which fills 6 bottles at a time.

Note:
A gas line delivers nitrogen which serves two purposes: it protects the wine from exposure to oxygen and degasses the wine, removing any lingering carbon dioxide.
Step 3:
The filled bottles are moved down the line, where a screwcap or a traditional cork is added to seal the bottle. Any guesses on what the wine pictured below could be?
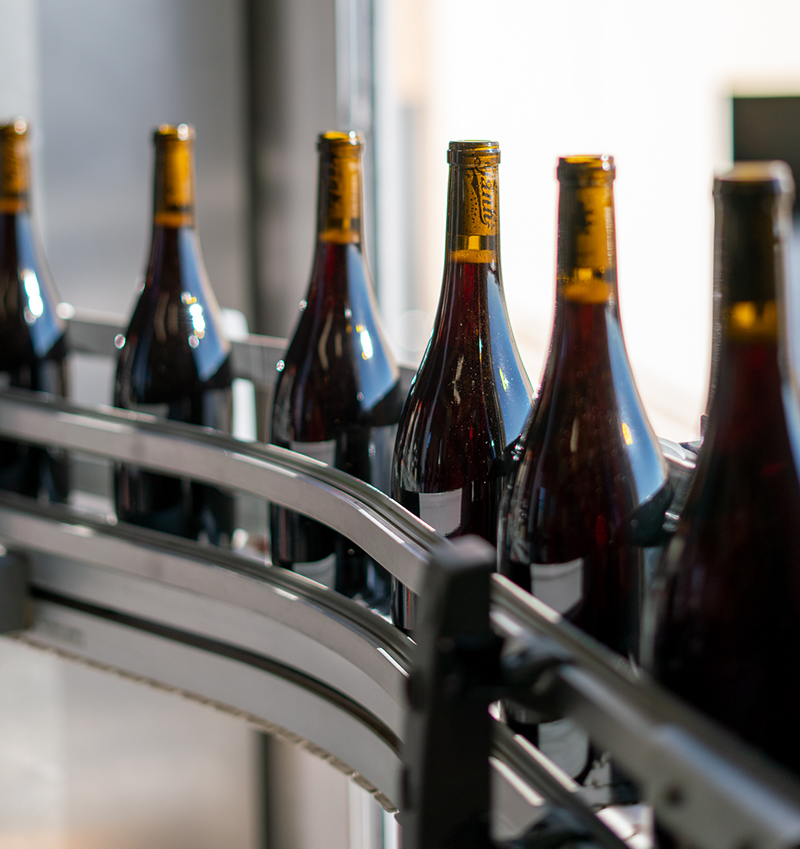
Hint: "For the label, we’re taking it back to our vintage roots with an image of a woman adorned in flowers."
Step 4:
The bottles continue down the line where two to three workers place capsules over the mouth.
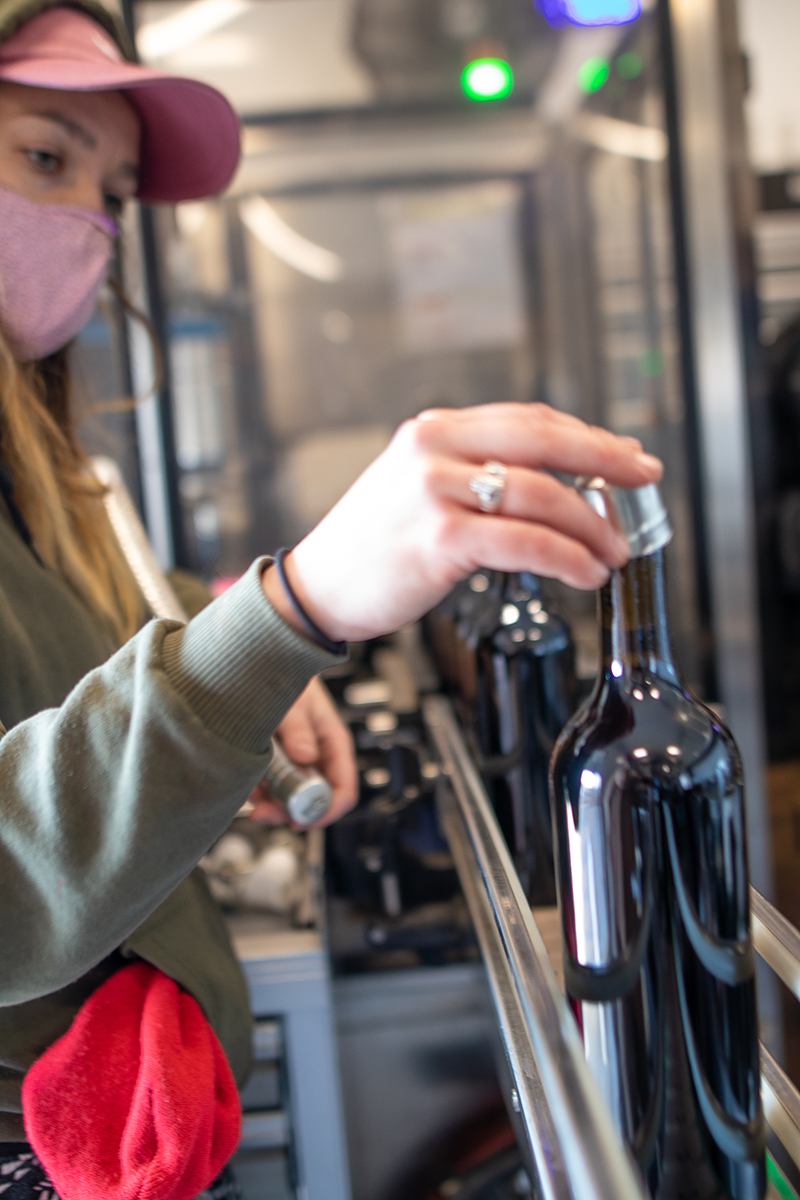
Step 5:
Each bottle is placed onto a pedestal, where the machines rotate the bottle 180 degrees to perfectly apply the front and back labels. Peep the example bottle displayed on the left, to make sure the machine is operating correctly. Quality control, folks!
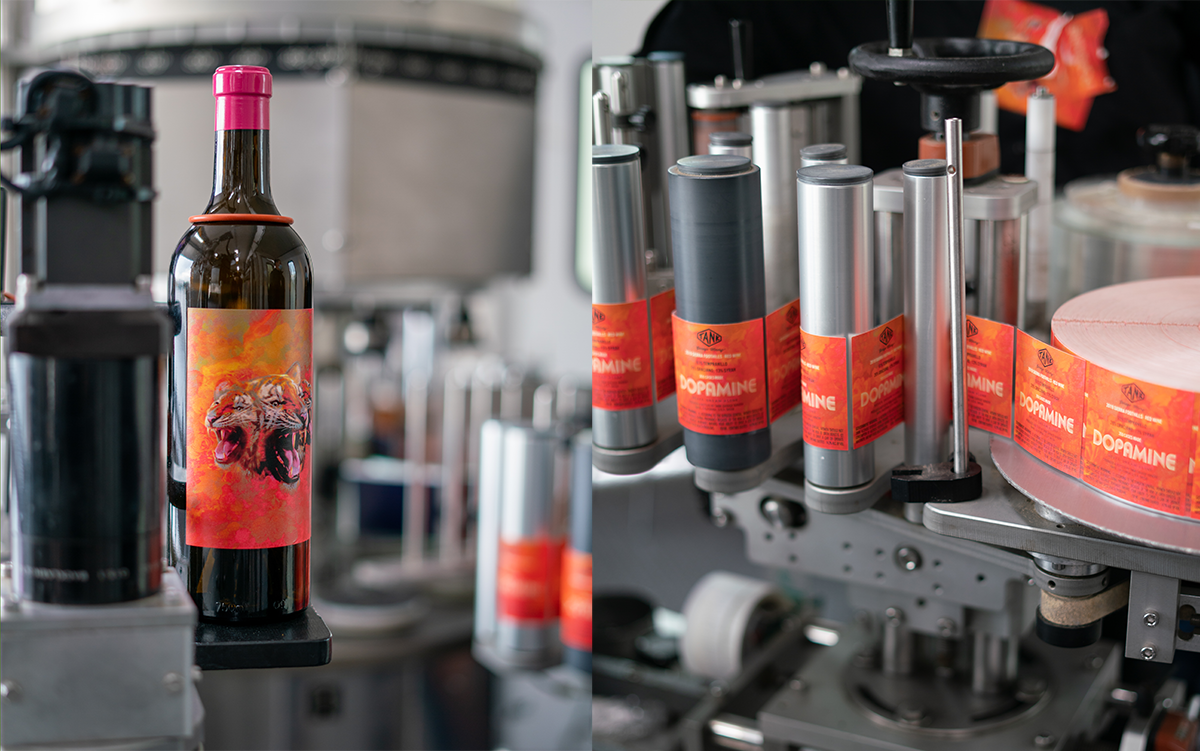
Step 6:
Once the bottles have made it through each station, they are re-packaged into the same boxes they started in.
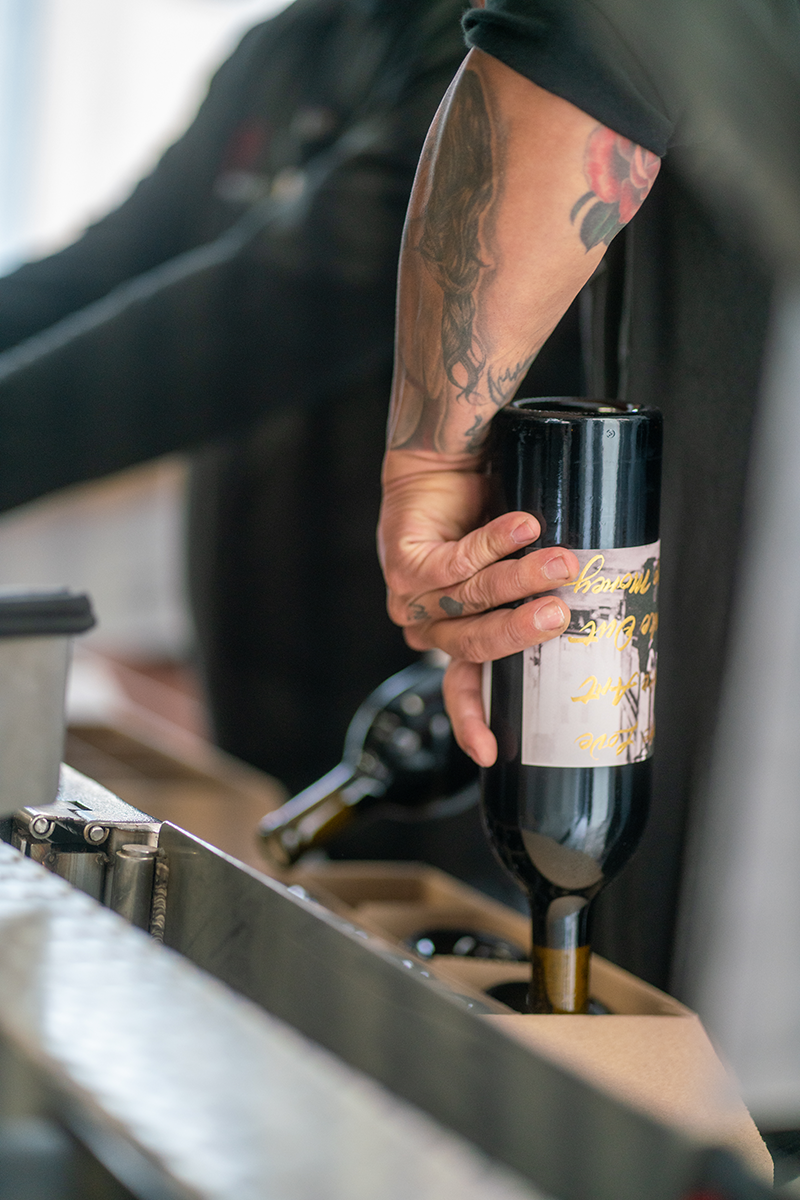
Step 7:
The cases are labeled, pushed through a tape dispenser, and placed on pallets. Ready for transport!

That's a wrap!
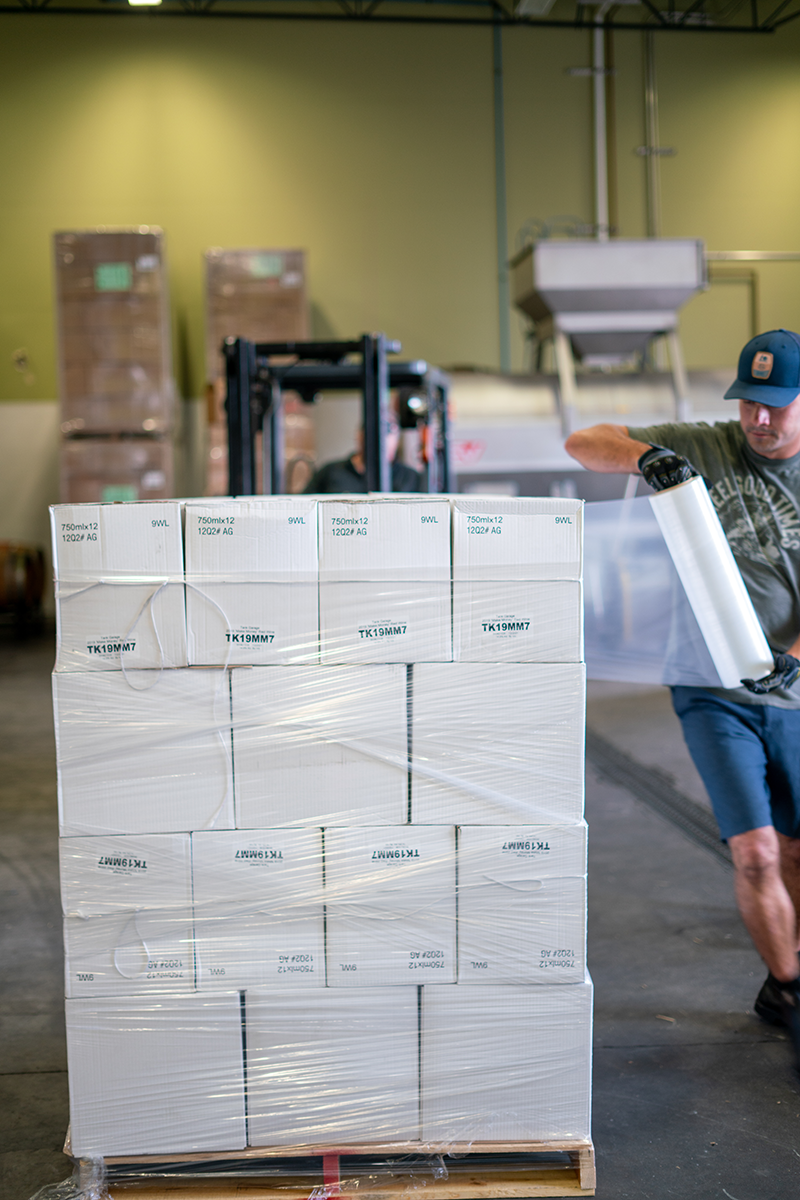
Follow our journey on Instagram to stay in the loop!
Mushrooms and Wine
If there’s one thing we love about winter in California, it’s the abundance of wild mushrooms growing up and down the coast. Chanterelles, Black Trumpets, Hedgehog and Porcini mushrooms are just a few of the fantastic fungi we’ve come to love, and they make an excellent pairing to the cool, California wines found at Tank Garage Winery.
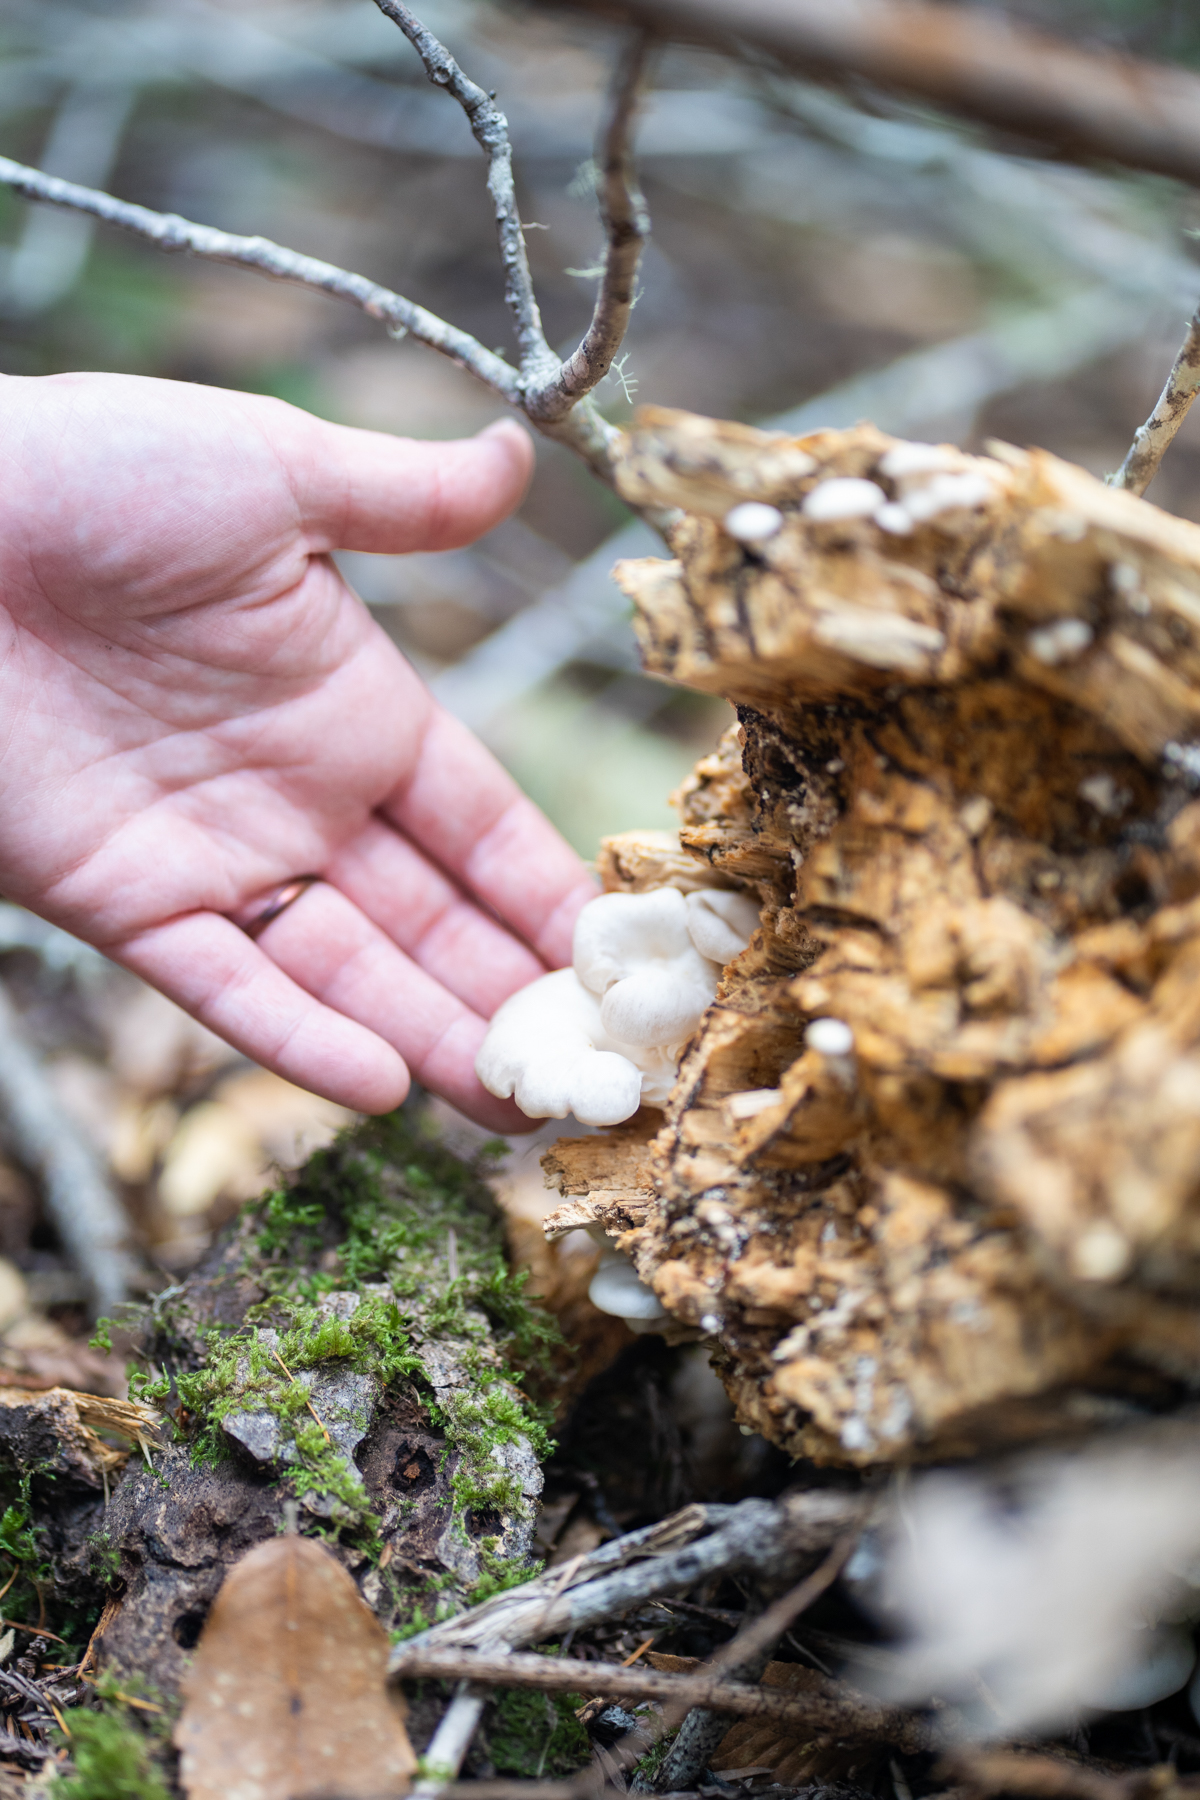
So, what are mushrooms exactly, and why do we love pairing them with our wines? Mushrooms, as we know them, are the reproductive fruiting bodies of certain types of fungi and the majority of the organism grows beneath the soil's surface in a vast network known as mycelium. Fungi are different from plants and animals and belong to their own kingdom. You are probably most familiar with the edible species Agaricus Bosporus, more commonly known as the white button mushroom, cremini or portabella mushroom, depending on its growth stage. These, along with the countless other edible mushroom species, make a wonderful pairing for both red and white wines, depending on the preparation. We have our minds set on making a mushroom risotto (scroll down for the recipe), which we think will pair swimmingly with our limited release, Barn Dance Mourvèdre.
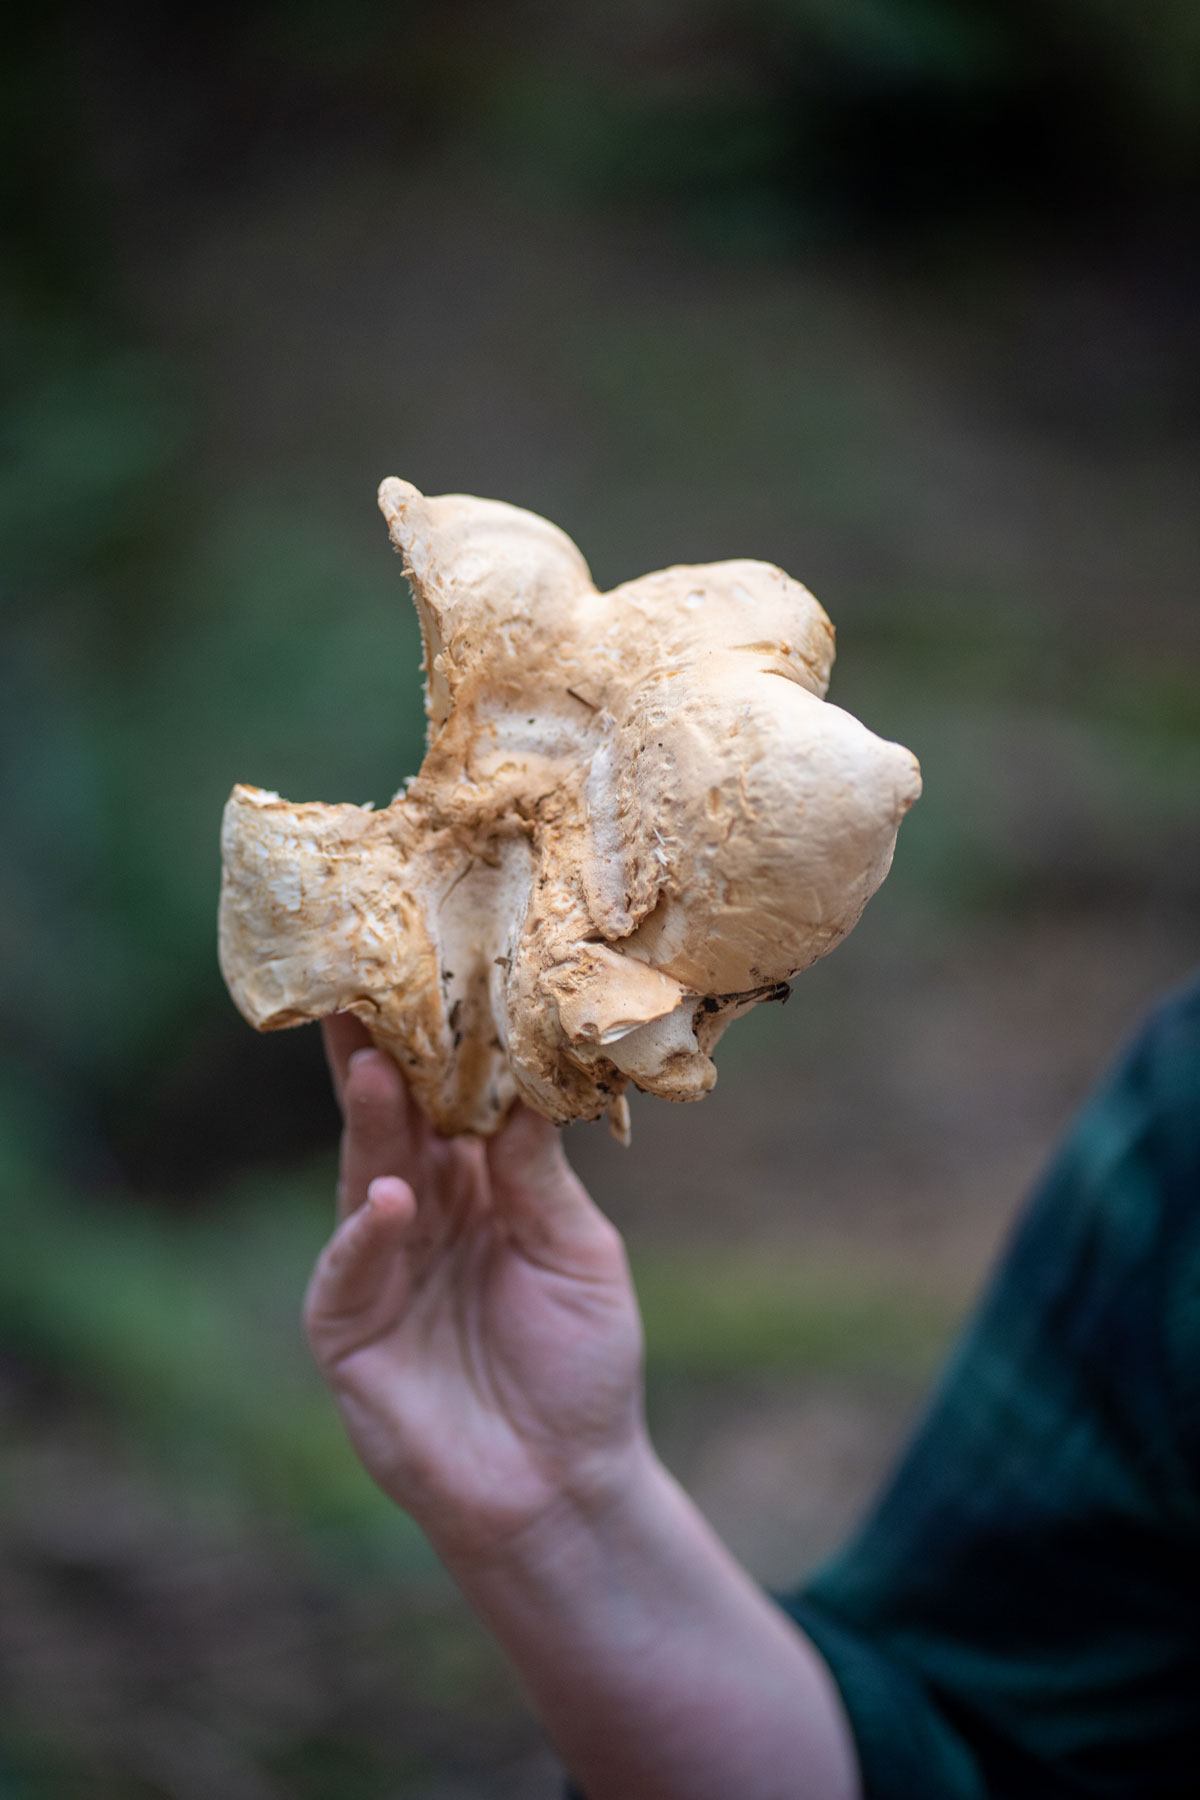
Some of our favorite species of mushrooms are not cultivated commercially, so the only way to access them is through foraging or connecting with a local mushroom purveyor. To celebrate our love of nature and newly found hobby, we took a trip to Salt Point State Park, located in Sonoma County CA for a day of mushroom hunting and taking in the beauty of the California Coast. Salt Point State Park is the only California state park that allows mushroom collecting for personal use, and there is a bag limit of three pounds of mushrooms per person, per day. We’re very fortunate to have access to these lands and it is important that we pay our proper respects.
Therefore, we follow these guidelines while foraging:
- Only pick what you will consume, and never pick more than 10% of what’s growing in a specific area to ensure mushrooms will continue to fruit in that area for years to come.
- Don’t disturb the vegetation. The ground cover is essential to the mycelium (mushroom ‘roots’) growing underneath so it is important that you do not dig into or rake away the soil in search of mushrooms.
- Don’t litter! And if you see trash on the trail, pick it up. We’ve got to take care of our Mother Earth, so always leave the trail better than you found it.
- Only pick mushrooms where it is legal to do so.
- Last, and certainly not least, we do not recommend consuming wild mushrooms unless you are or are working with an experienced forager to help identify your finds. Remember – many mushrooms have lookalikes and some can be deadly toxic. The number one rule to remember is “When in doubt, throw it out.”
It was a perfect day for foraging, and we were blessed with an abundance of Black Trumpet and Hedgehog mushrooms growing along the trail. In addition to these amazing finds, we also spotted a few Oyster mushrooms and a Yellowfoot Chantrelle. After hiking 15+ miles over the course of the day, we finished our hike at sunset along the coast, watching the waves crash against the rocky shoreline. We're already counting down the days until our next mushroom adventure!
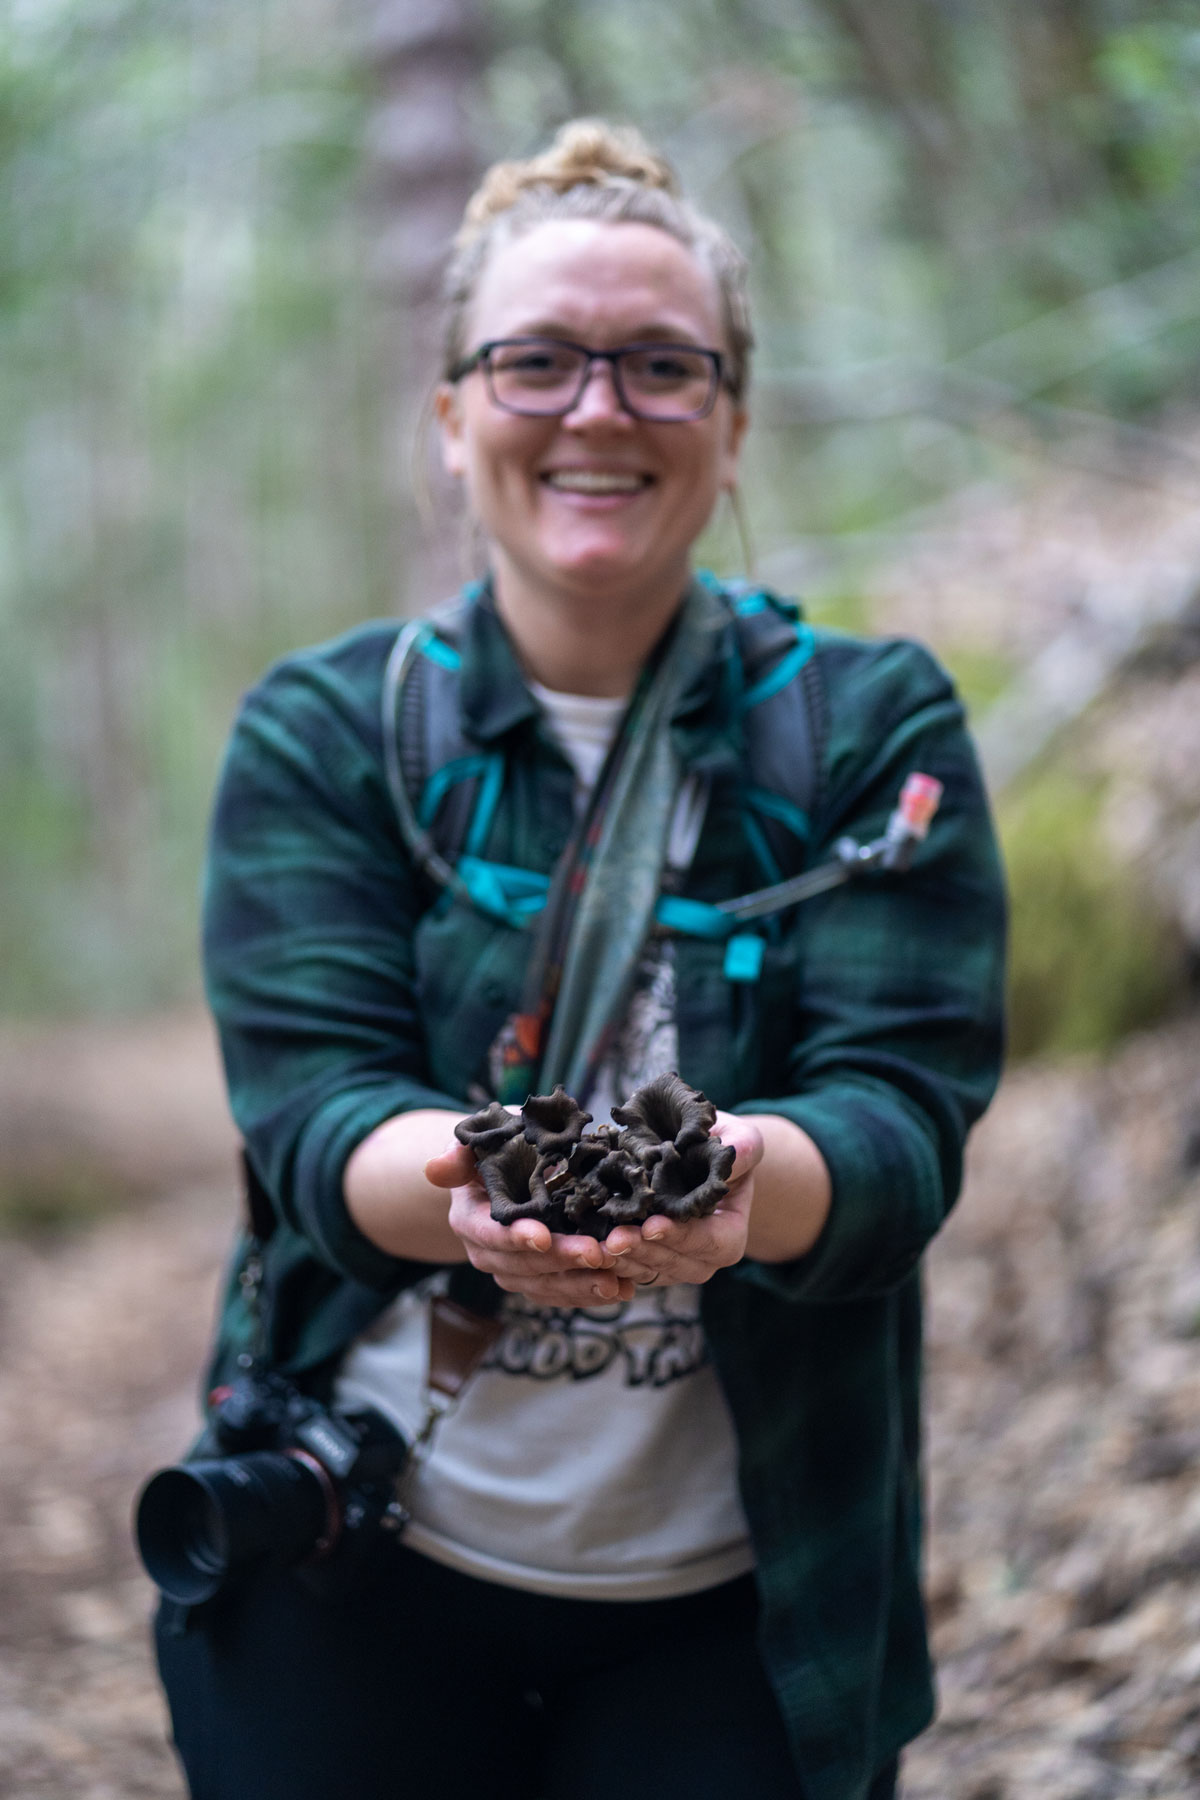
Many of the edible species we gathered on our mushroom hike can be found at groceries here in California. Two of our favorite purveyors in California are Far West Fungi and Foggy Dew Fungi, who both offer a wide array of mushrooms (and even your own mushroom growing kits). Edible mushrooms species can be found throughout the United States, and we recommend checking out your local mycological society for information on mushrooms in your area.
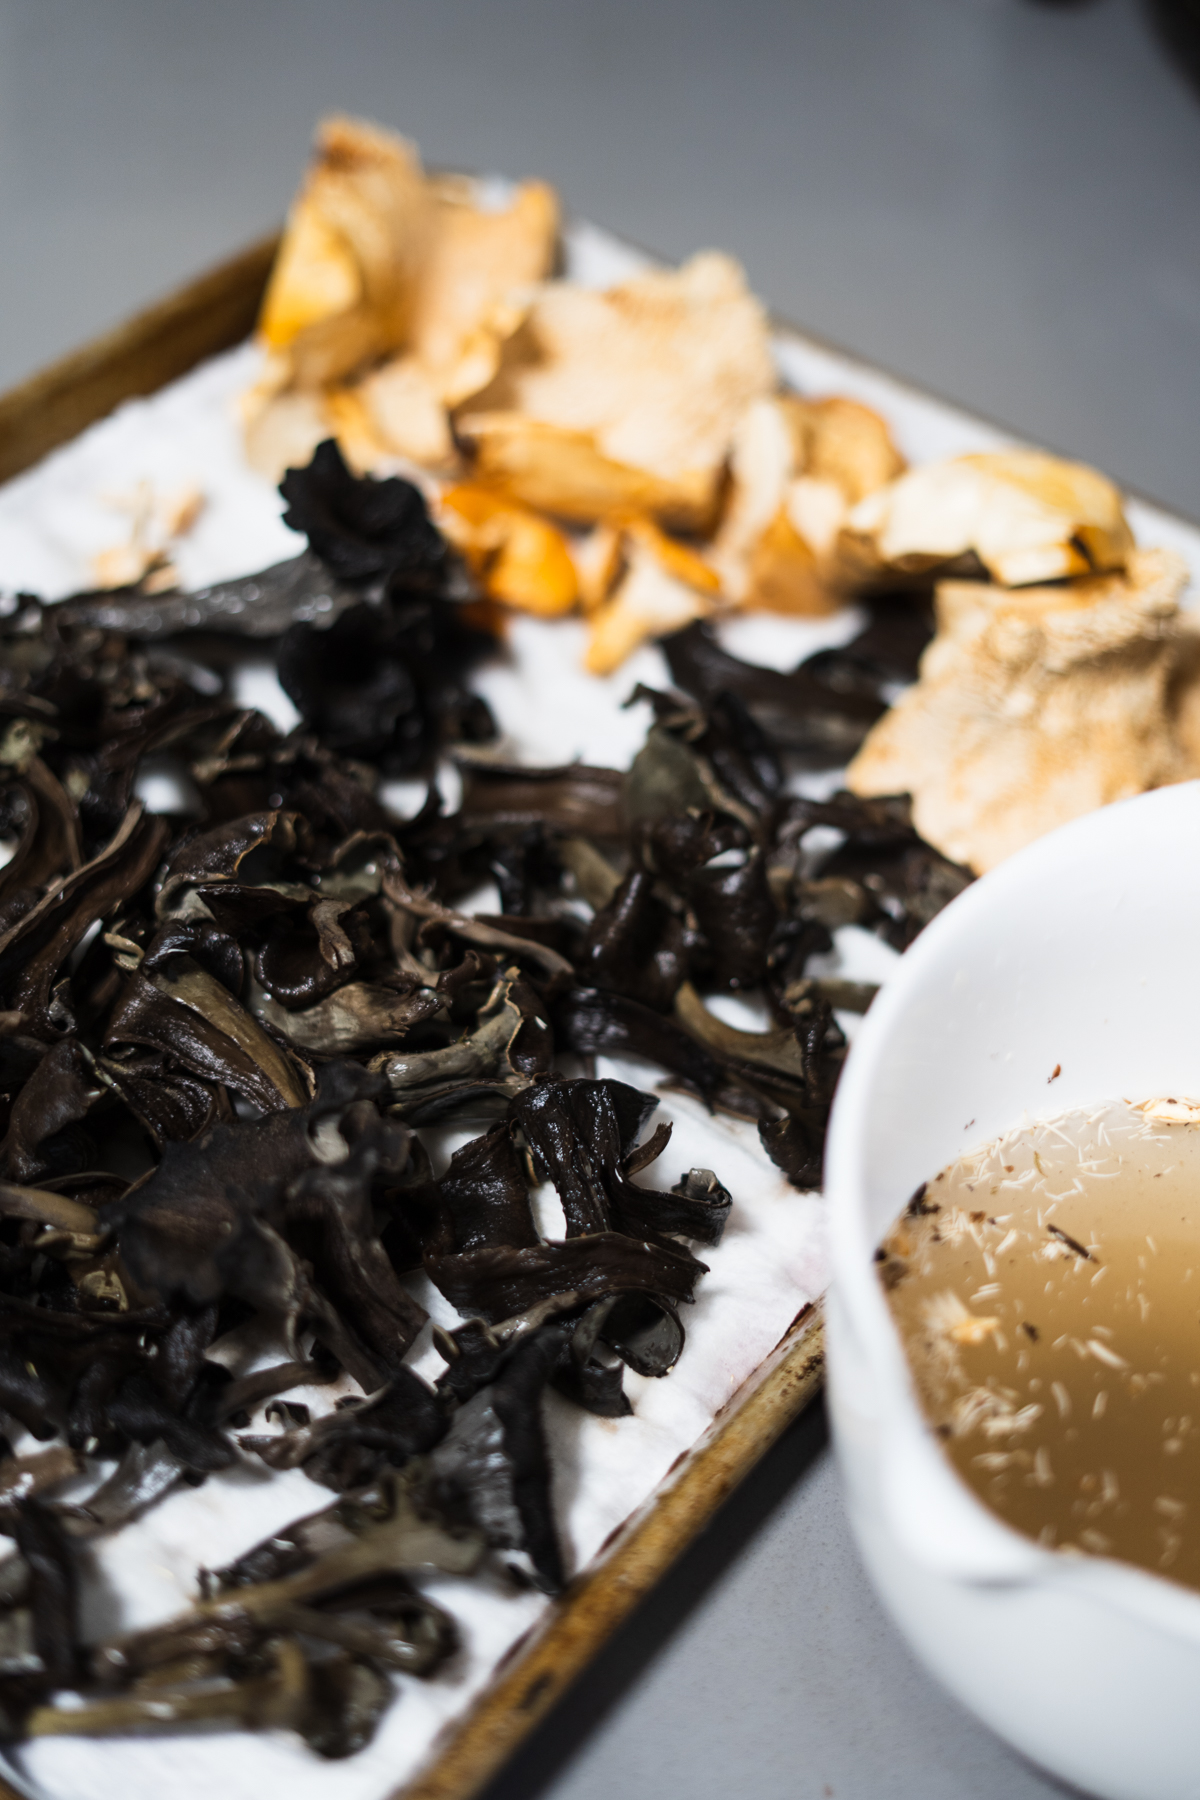
A few tips on cooking mushrooms:
- Always clean your mushrooms! While you may have heard an outdated warning that washing leads to waterlogged mushrooms, w recommend placing your mushrooms briefly in a large bowl of water to rinse away any debris. Afterward, you can use a damp paper towel to remove any remaining debris. If you are using wild/foraged mushrooms, you may need to use a brush to aid in the cleaning process. Gently pat your mushrooms dry with a paper towel and they are ready for cooking!
- We recommend a 'dry fry' method by placing cleaned mushrooms in a hot pan without oil. As the mushrooms cook, they release their juices and evaporate, leading to a more concentrated flavor. Once the mushrooms begin to brown (about 5-10 min), add a bit of oil or butter to achieve a crispy exterior and season them to taste. We prefer to use a cast iron pan for this process, but you can use any non-stick pan you desire.
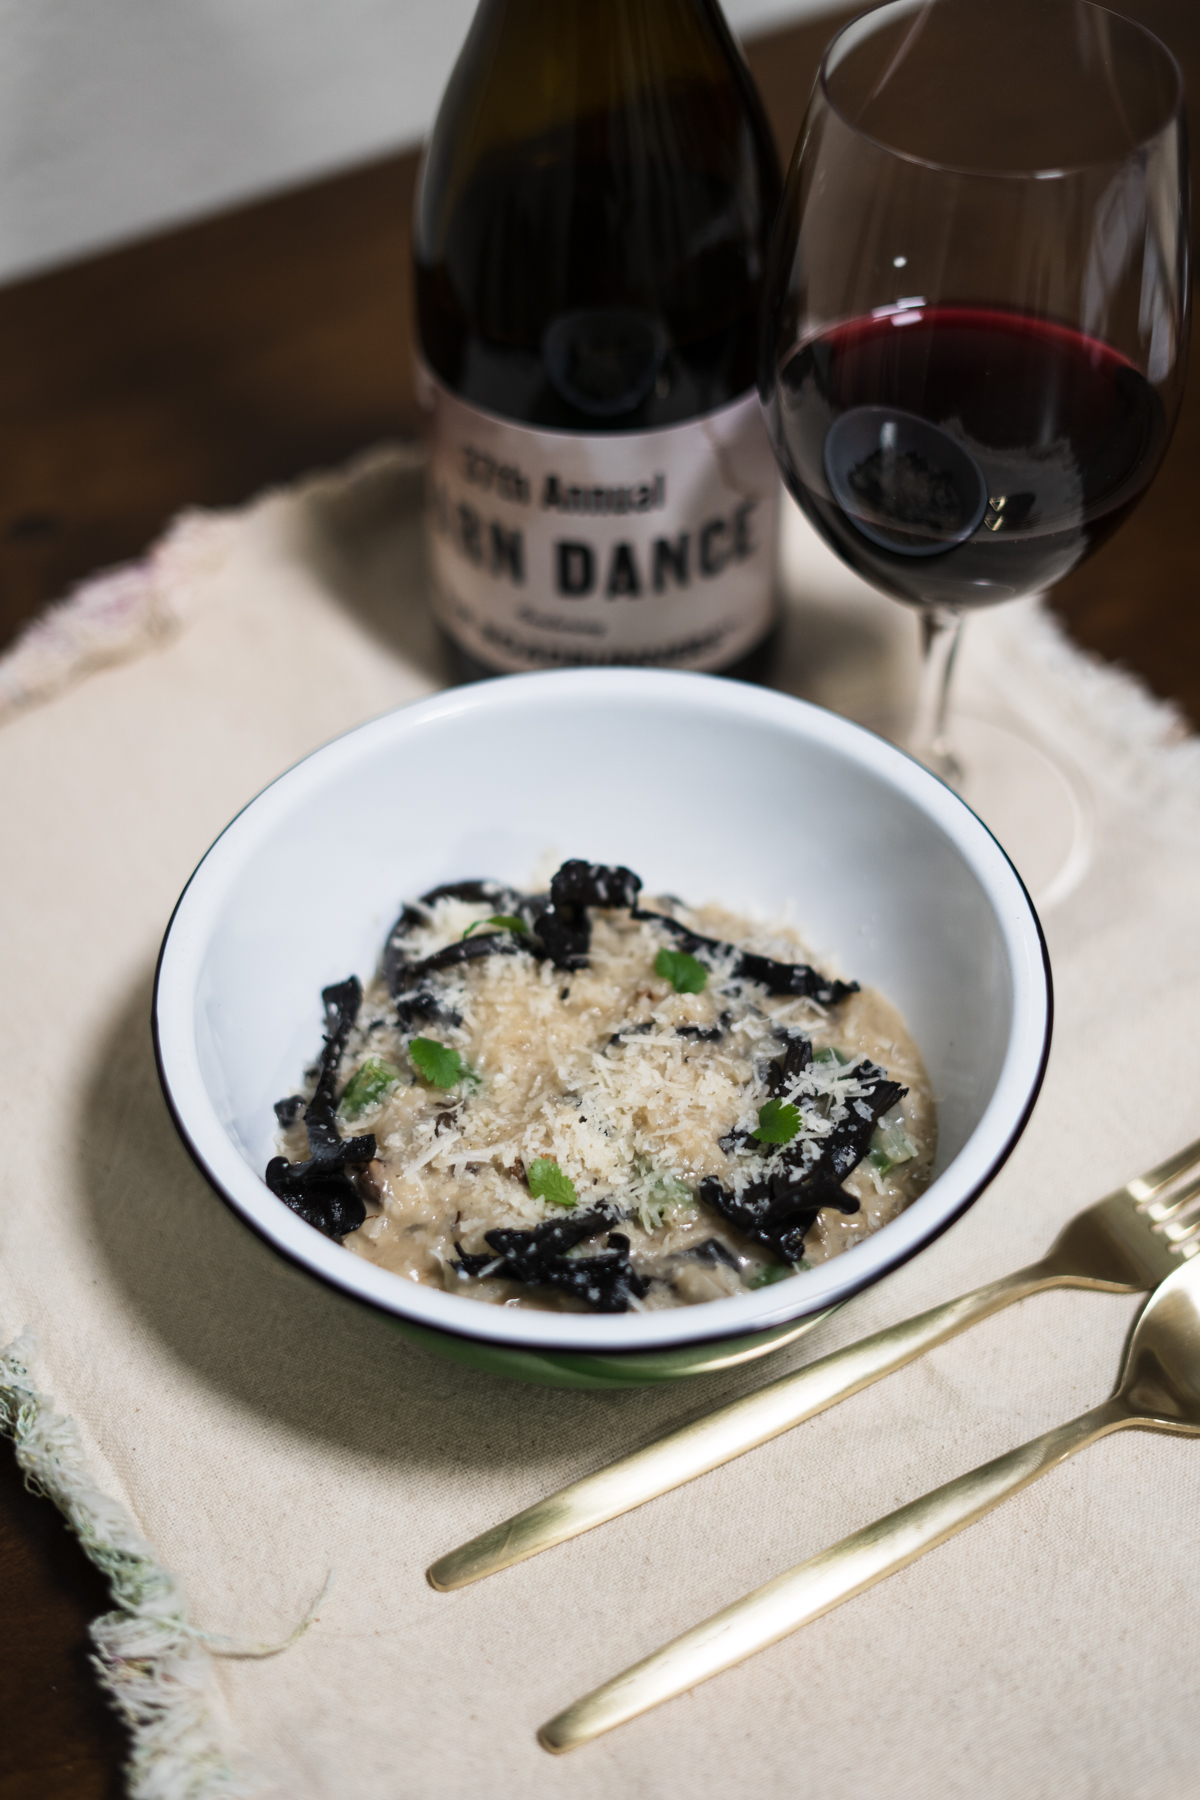
Mushroom Risotto
Serves 6
Ingredients:
1 qt mushroom stock
water, as needed
2 lbs mushrooms, sliced (we recommend using several varieties)
olive oil
1 ea yellow onion, minced
1 head garlic, minced
1/2 c dry white wine
1 1/2 c Arborio rice
4 tbs butter
1 c parmesan cheese, finely grated with a microplane
kosher salt, to taste
black pepper, to taste
microgreens (optional) to garnish
Tools Needed:
chefs knife
cutting board
1 sheet pan
mixing bowl
1 large cast-iron skillet or sauté pan with 4" sides or a dutch oven
1 wooden spoon or heat-proof spatula
1 microplane
tasting spoons
serving bowls
Method:
Bring mushroom stock to a low simmer over the stove and hold for later use.
Using the dry fry method, cook mushrooms in batches in a hot cast iron or nonstick pan without oil. This method allows the mushrooms to cook in their own juices, leading to a more concentrated flavor. Once the mushrooms begin to brown (about 5-10 min), add a bit of oil or butter to achieve a crispy exterior and season them to taste. Set a side on a sheet pan lined with paper towels for future use.
While your mushrooms are cooking, mince onion until the pieces are approximately the size of a grain of rice. Mince garlic and set aside.
In a large cast-iron skillet, heavy sauté pan or dutch oven, heat approximately 2 tablespoons olive oil until you see a slight ripple indicating the oil is hot. Add minced onions, season with salt and sweat over medium heat until translucent and completely soft (taste the onions to make sure they are soft. Nobody likes crunchy onions in risotto). Do not brown your onions! Once onions have cooked, turn the heat to low, add garlic, season and stir until fragrant. Add Arborio rice and stir to coat with oil. Keep on stirring to parch the rice – do not brown the rice!
When the rice has taken on a slightly translucent appearance (approximately 2-3 minutes), add the wine and stir continuously. Tip: Make sure to rub your spatula across the bottom of the pan to pick up any bits of fond from cooking the onions and garlic! Reduce wine while stirring gently until fully absorbed.
Adding 1/2 c of stock at a time, gently but continuously stir the rice until all the liquid has been absorbed. This process may use more than 1 qt of stock – if you need more liquid, water can be used to finish the cooking process. Note: The continuous stirring, along with the slow additions of liquid, is what creates the creamy texture Risotto is known for. Don't rush this step, and don't leave your pan unattended. Taste the rice throughout this process to test for doneness and season as needed. Rice should be al dente.
Add butter and parmesan and stir until fully incorporated. Add mushrooms, reserving a few of each variety for garnish. Taste and season as needed.
To serve, garnish with a bit of the reserved mushrooms, a bit of freshly grated parmesan and herbs (optional).
Tip: Have leftovers? Cool mixture and form into 1" balls or small disks. Coat with flour, egg wash and panko to fry up for some killer Arancinis later on in the week! (These can also be frozen for up to 1 month)
Recipe by Grace Coyne
It's Ramen Night 🍜
Tank does ramen night. 🍜
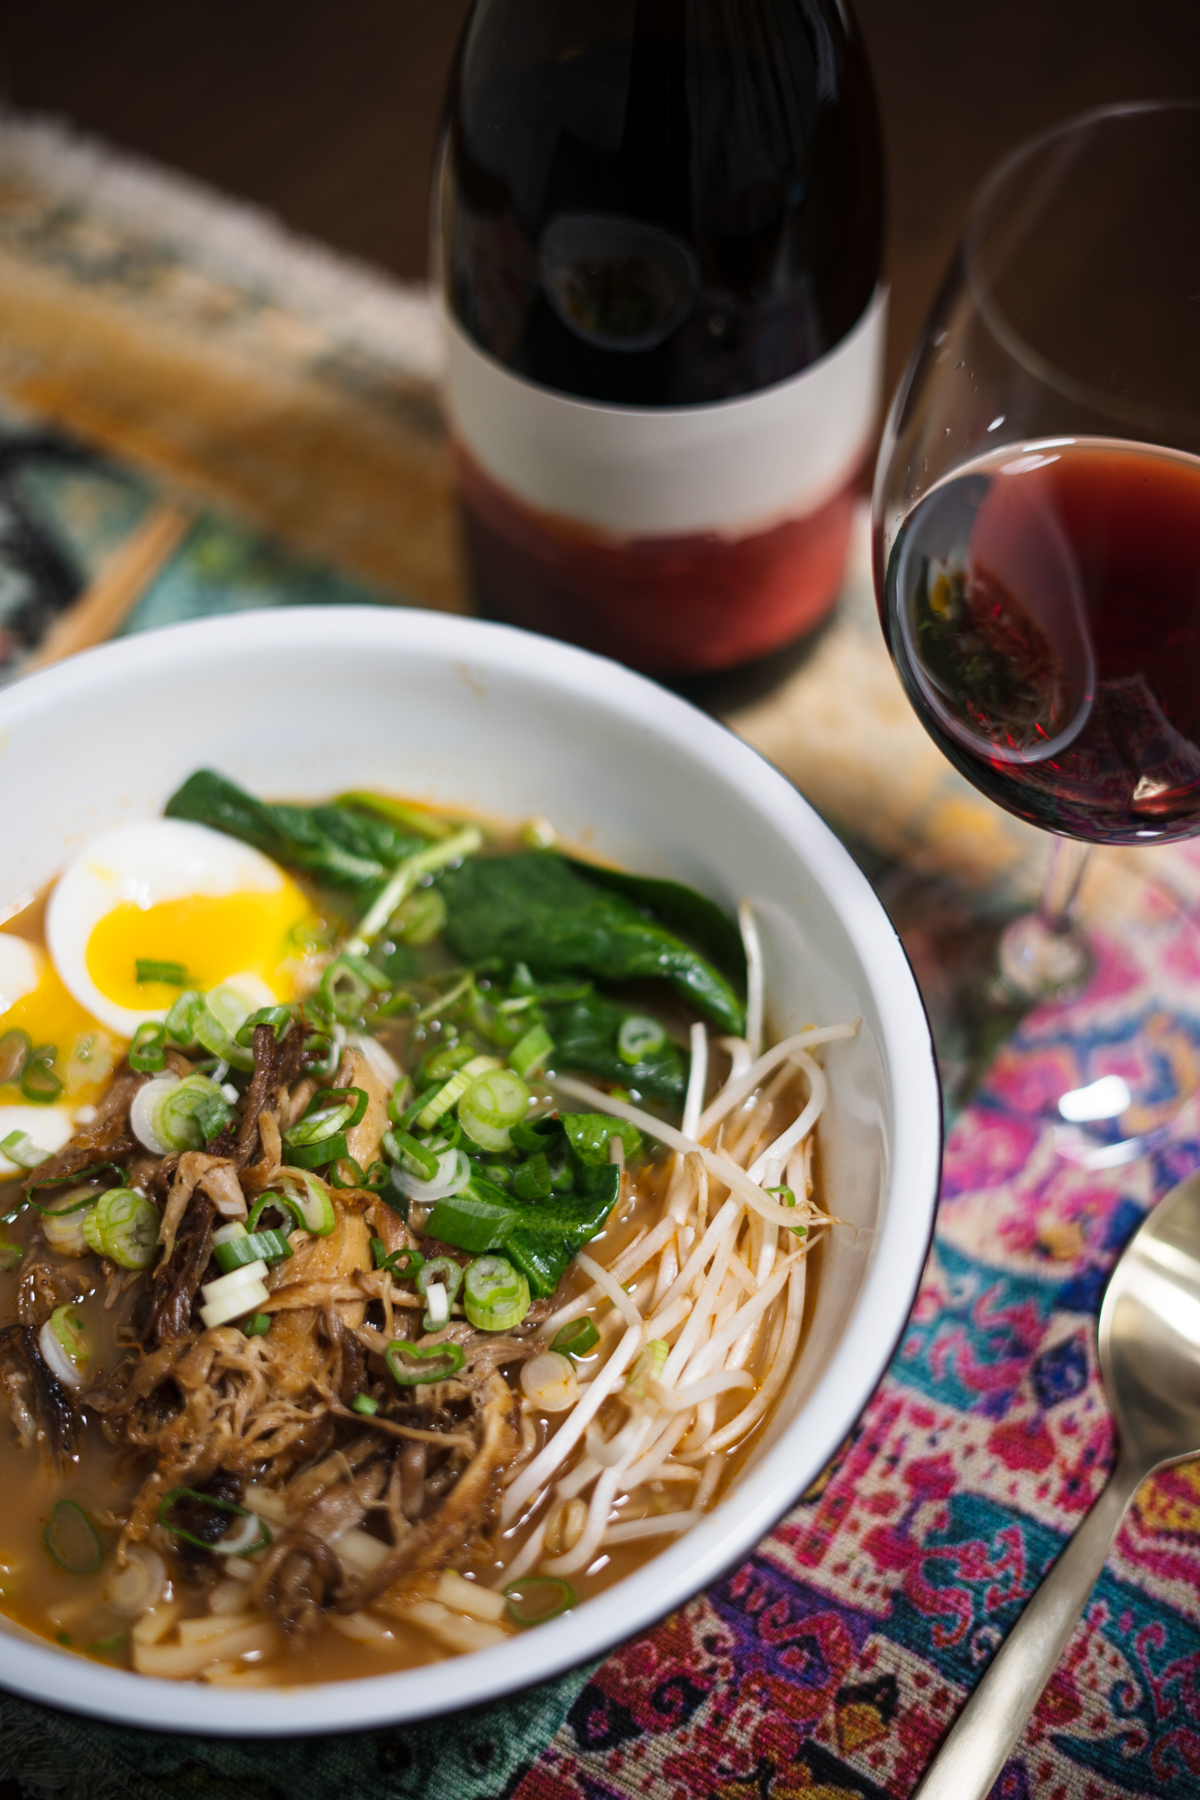
Cold winter nights call for a soul-warming bowl of soup, and in our humble opinion, that soup is ramen. Ramen is a Japanese noodle soup, with a combination of a richly flavored broth, with noodles and a selection of meats or vegetables, often topped with a boiled egg.
Our recipe isn't your dorm room Top Ramen, but it also won't take 48 hours babysitting a broth over the stove. So, pour yourself a glass of The Benefits of Solitude, whip up the recipe below and enjoy the pairing magic. ✨
To help you stock up on this irresistible red, use code SOLITUDE at checkout to score $25 off your next 4+ bottle order. Offer expires 1/31
Ingredients (Makes ~ 2 servings)
• 1 pkg Shin Ramyun
• 6 oz Braised Pork Shoulder
• 2 Eggs, Soft Boiled
• 1/2 cup canned Bamboo Shoots, Julienned
• 1/2 cup Green Onion, chopped
• 1/2 cup Mung Bean Sprouts
• 1 cup Spinach
• Soy Sauce, as needed
• Hot Sesame Oil, as needed
• Sriracha or other hot sauce, as needed
One of our favorite things about ramen is that the dish is completely customizable. The above ingredients are our favorite combination, but feel free to add things like sliced shitake mushrooms, nori (seaweed), bok choy, swap the pork for your favorite meat or add any of your favorite vegetables.
A note on making soft-boiled eggs: Boil for ~5 minutes in shell and transfer to an ice-water bath to stop the cooking process. This will yield an egg with set whites and creamy yolk.
Directions
| 1 |
Begin by bringing ~3 cups of water to a boil. Add the seasoning packets that come with the noodles and stir to combine. Add uncooked noodles and simmer for five minutes. Remove noodles and save the cooking liquid. |
| 2 |
Using two large soup bowls, add cooked noodles and arrange the pork shoulder, soft-boiled egg, bamboo shoots, mung bean sprouts and spinach on top. Ladle hot cooking liquid between the two bowls and garnish with chopped green onion. |
| 3 |
Season to taste with soy sauce, hot sesame oil and your favorite hot sauce (we used Sriracha). |
Pair with 2019 The Benefits of Solitude, Red Wine, California
Cheers!
To help you stock up on this irresistible red, use code SOLITUDE at checkout to score $25 off your next 4+ bottle order. Offer expires 1/31
